Managing Analytics Jobs
The Analytics Jobs sub-module not only lists all jobs but also provides tools to help you organize and manage them. You can filter jobs, sort jobs by selected headings, and use the Actions column to work with individual jobs.
Managing jobs keeps the Analytics dashboard organized and usable, especially when many jobs have been submitted. By filtering, sorting, and reviewing job details, you can:
- Monitor the most important jobs efficiently.
- Identify failed jobs quickly.
- Access dataset validation info without leaving the dashboard.
Filtering Jobs
Use the filter controls to narrow down which jobs are displayed in the dashboard. Filtering helps you reduce clutter and quickly locate the jobs most relevant to your work.
To filter jobs, do the following:
-
Login to the platform.
-
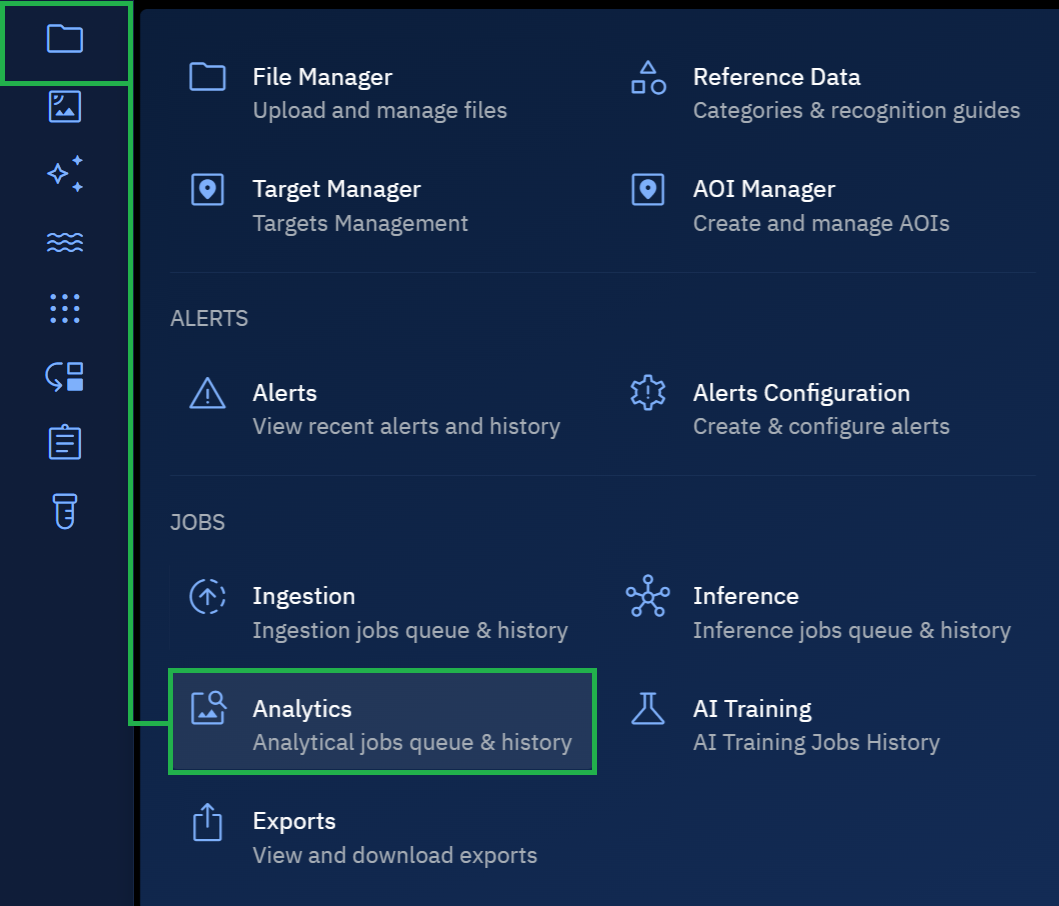
Click the Data module, and then click the Analytics module.
The Analytics Dashboard is displayed.

- On the Analytics Dashboard, click the Filter icon, do the following:
- Click the Job Type drop-down list and select the type of job or jobs that you want to view.
- Click the Created By drop-down list and select the user or users who created these jobs.
- Select a date range in the Created Date From and Created Date By fields.

| Filter | What It Does | When to Use |
|---|---|---|
| Job type | Filters jobs by the analysis tool that created them (for example, Band Mathematics, Mosaic, or Change Detection). | Use when you want to view only jobs of a specific analysis type. |
| Created by | Filters jobs by the user who created them. | Use when you are collaborating in a team and want to view only your jobs or jobs submitted by a colleague. |
| Created date (From–To) | Displays jobs created within a specific date range. | Use when you need to review jobs from a particular time period, such as the last week, month, or quarter. |
Sorting Jobs
Sorting makes it easier to group jobs together or bring the most recent jobs to the top of the list.
You can sort jobs by clicking the following column headings:
- Job type
- Status
- Started by
- Started at
- Completed at

Using the Actions button
Every job row includes an Actions column. This is a read-only dialog box.
From here, you can access details about the job, such as dataset validation information. This helps you verify inputs and troubleshoot issues when a job fails.
To details of a job, do the following:
-
Login to the platform.
-
Click the Data module, and then click the Analytics module.
The Analytics Dashboard is displayed.
-
On the Analytics Dashboard, locate a job whose details you want to view, and then click the Actions button.
The Job Title dialog box is displayed. For example, if you want to view details of a Dataset Validation job then Dataset Validation dialog box is displayed.
