Configuring AMD Project
In this section, you will learn how to configure an Auto Model Development (AMD) project.
The process of configuring an AMD project involves the following steps:
| Steps | Results |
|---|---|
| 1. Create AMD Project | Create an AMD project from the scratch. |
| 2. Add Annotation Datasets | Feed the project with annotation files to form the training foundation. |
| 3. Create and Validate a Dataset Version | Validate a dataset and link it to categories. |
| 4. Create a New Experiment | Configure and train your model. |
Creating AMD Project
In this section, you will learn how to create an AMD project.
To create AMD project, do the following:
-
Login to the platform.
-
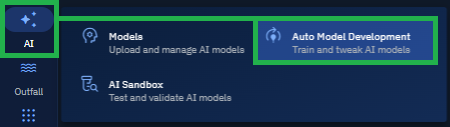
Click the AI module and then click the Auto Model Development sub-module.
The Auto Model Development (AMD) project page is displayed.
-
On the AMD Project page, click the + icon to create a new AMD project.

The New Auto Model Development Project dialog is displayed.
-
In the New Auto Model Development Project dialog box, type the name of the AMD project, and then click the Create button.
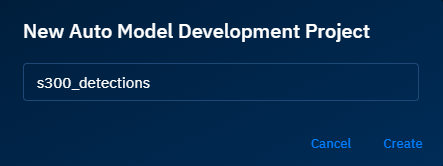
A new AMD project is successfully created.
Configuring Annotation Dataset
In this section, you will learn how to prepare training datasets:
-
Create New Dataset: Build a dataset inside the platform by selecting files and categories.
-
Import Dataset: Use existing annotation datasets uploaded previously.
Both methods represent the same task: a dataset you can version, validate, and use for experiments.
Creating New Annotation Dataset
In this section, you will learn how to create a new annotation dataset.
Use this method when you want control over which files and categories go into your dataset.
To create a new annotation dataset, do the following:
-
Login to the platform.
-
Click the AI module and then click the Auto Model Development sub-module.
The Auto Model Development (AMD) project page is displayed.
- On the AMD Project page, click the + icon to create a new AMD project.
The New Auto Model Development Project dialog is displayed.
-
In the New Auto Model Development Project dialog box, type the name of the AMD project, and then click the Create button.
A new AMD project is successfully created.
-
Select thew newly created AMD project and then click the Create button to start the process of creating a new annotation dataset.
The New Annotation Dataset dialog box is displayed.
-
In the New Annotation Dataset dialog box, type the name of the annotation dataset, and then click Next.
The Select Annotation File dialog box is displayed.
-
In the Select Annotation File dialog box, click the Filter icon to access various filters to find an appropriate annotation file or files.

-
In the Select Annotation File dialog box, use the following filters:
-
Type name of the existing annotation file in the Search box.
-
Select a Start Acquisition Date and End Acquisition Date.
-
Click the Categories drop-down list to select one or more categories that represent the annotation or annotations.
-
Click the Draw an Area of Interest button to draw an AOI on the map.
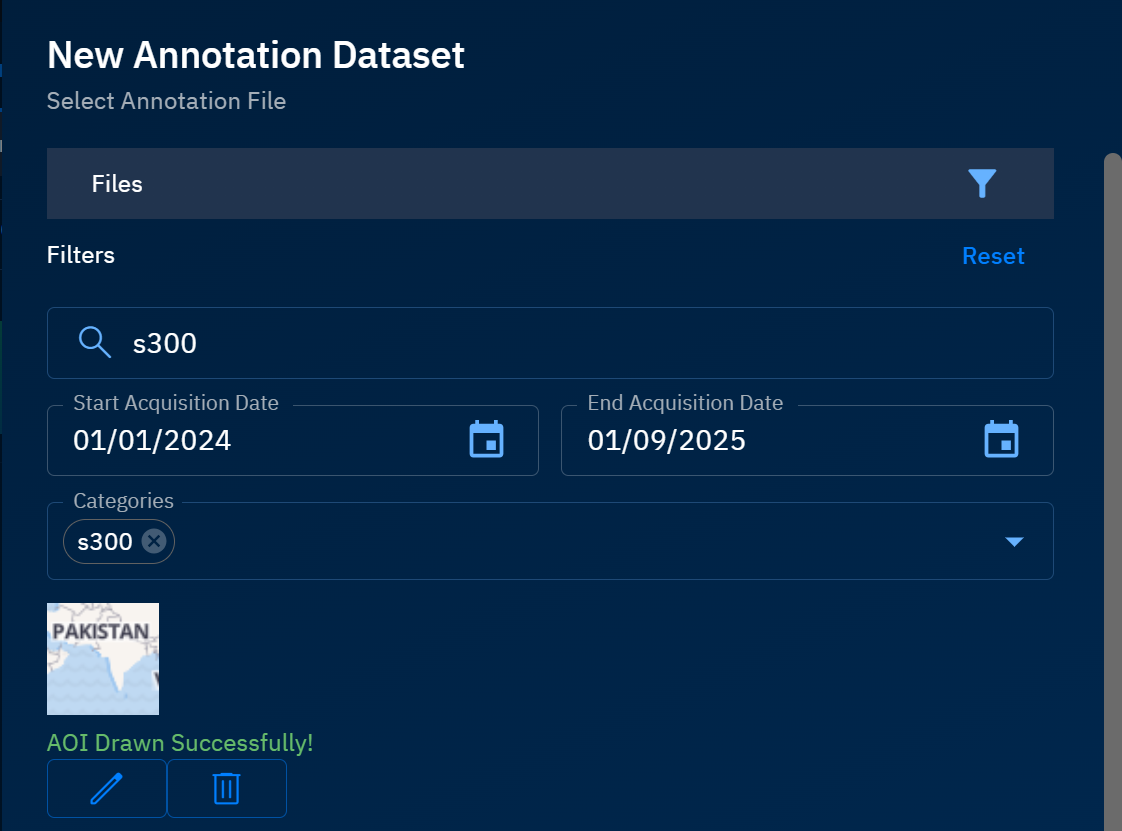
The platform shows annotation files in the Properties Filter section that match the selected filters.
-
-
In the Select Annotation File dialog box, select the appropriate annotation files and then click Next.
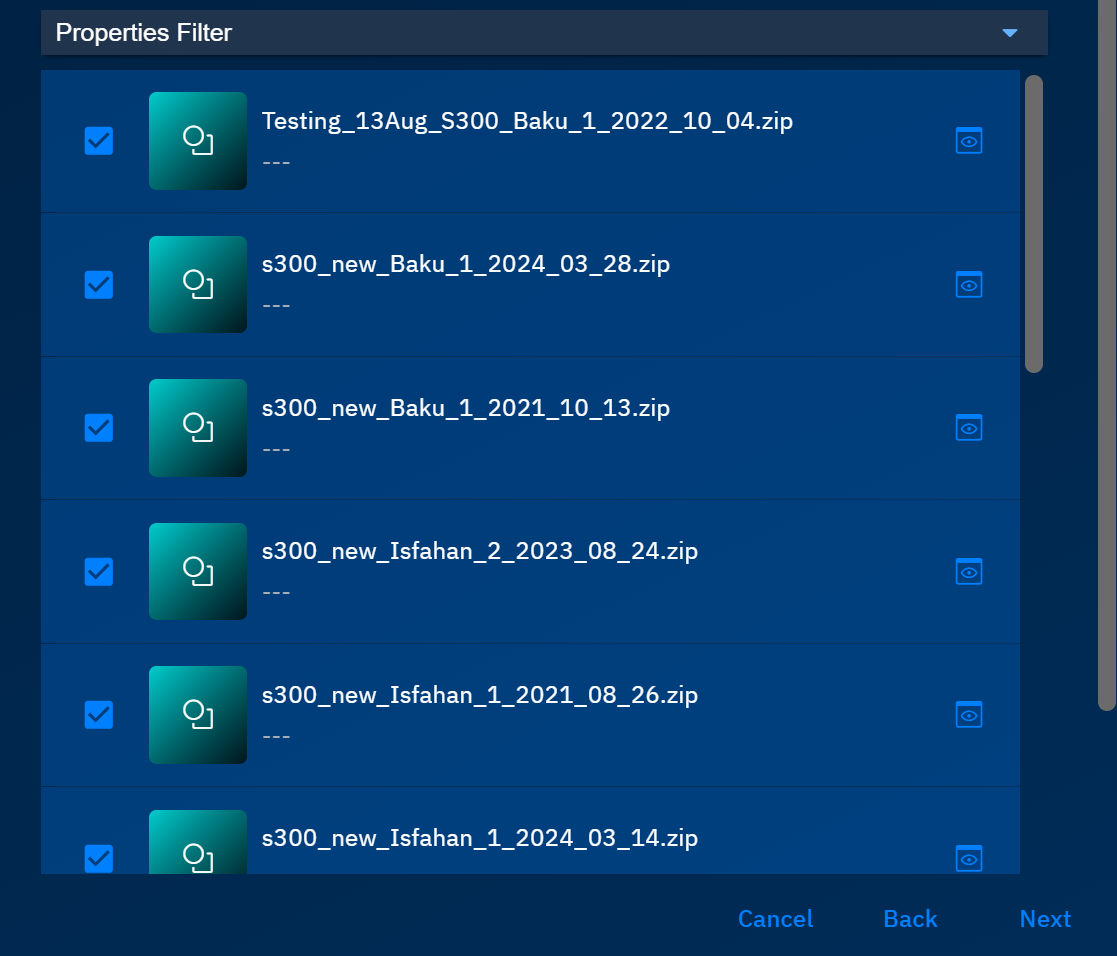
The Select Annotation Category(s) dialog box is displayed.
-
In the Select Annotation Category(s) dialog box, select the category and then click Create Dataset.
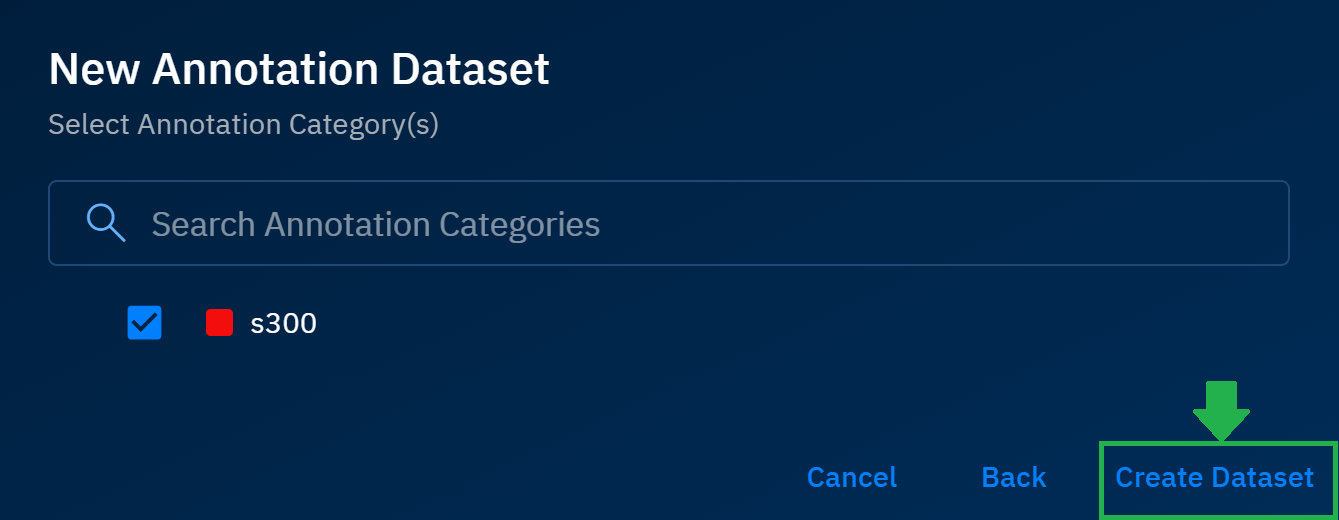
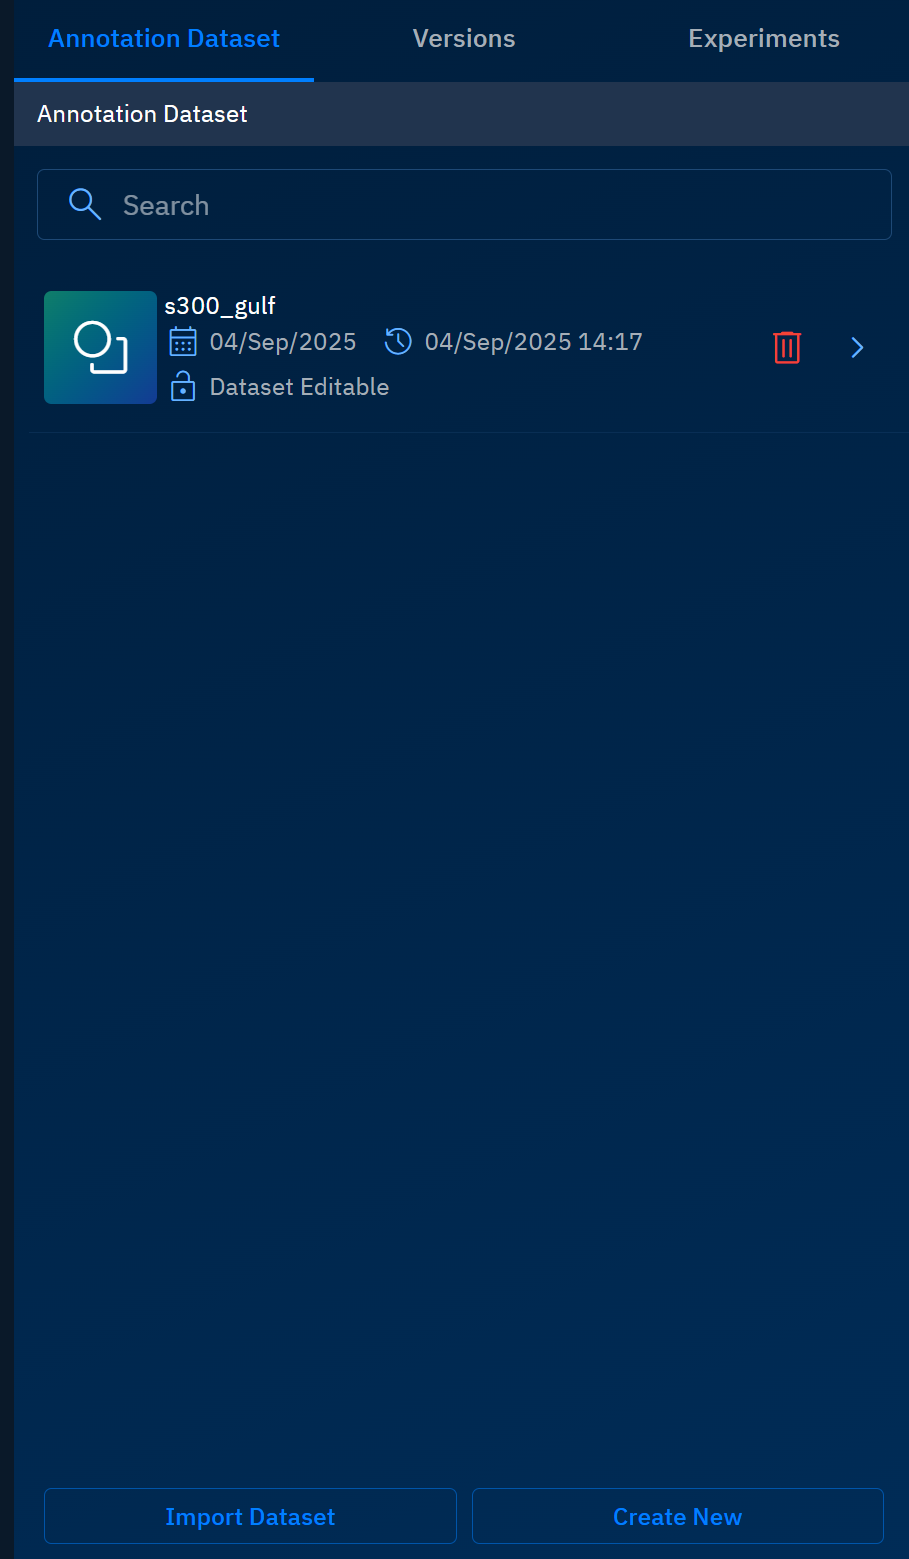
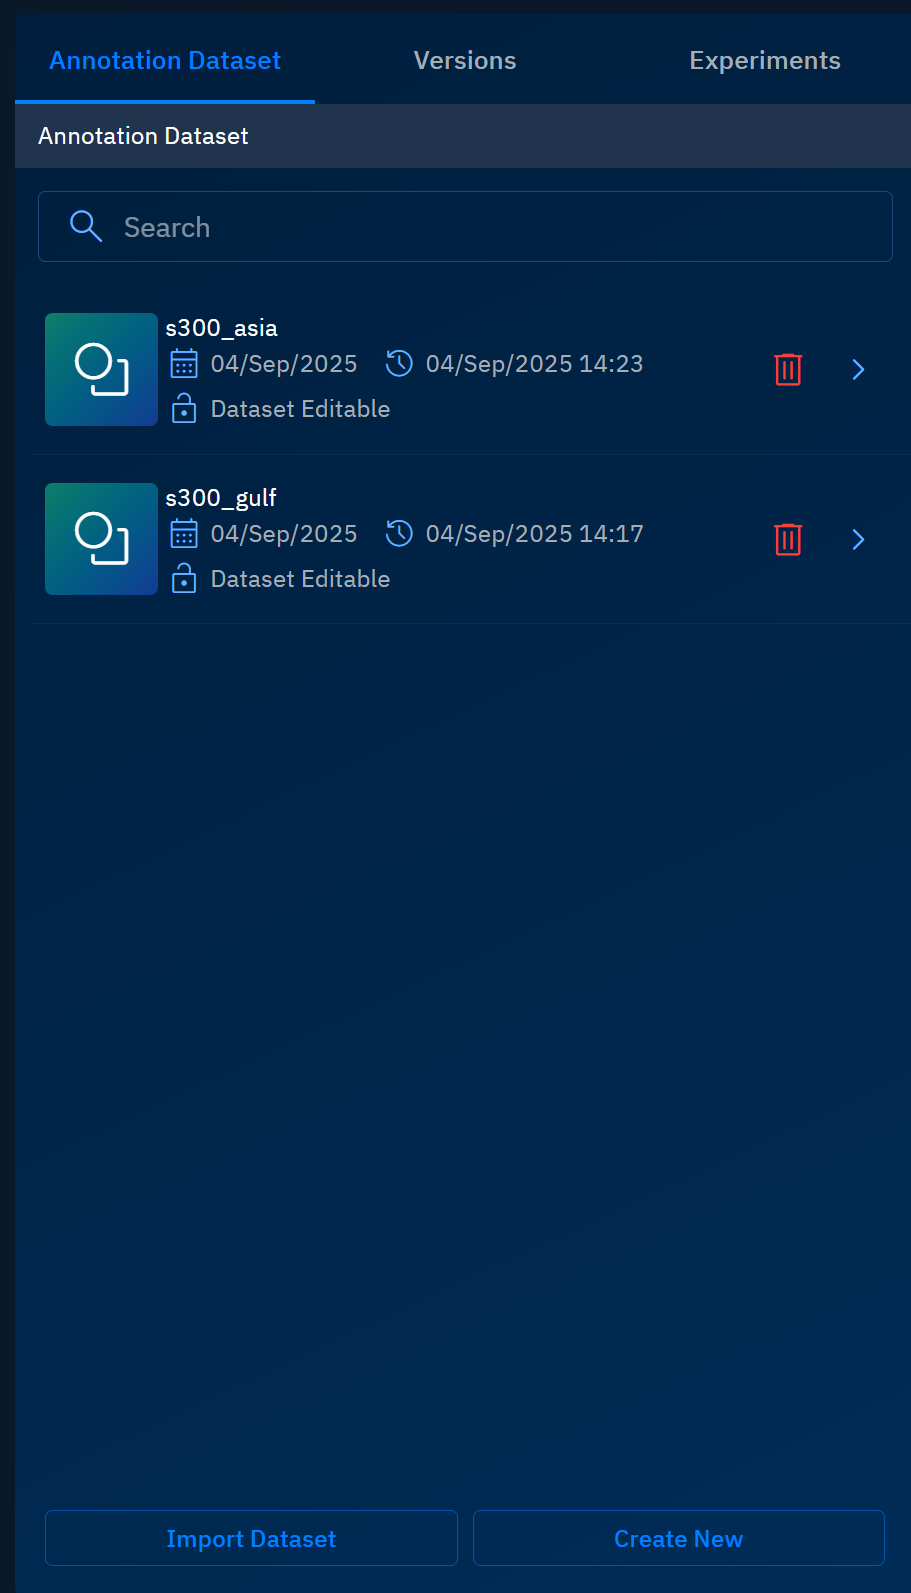
A new annotation dataset is successfully created as shown below:
Importing Existing Annotation Dataset
In this section, you will learn how to import an existing dataset.
Use this method when your team has already prepared a dataset. Instead of recreating the dataset, you can simply import the dataset prepared by your team in AMD.
To import existing annotation dataset, do the following:
-
Select the Annotation Dataset tab and then click the Import Dataset button.
The Import Annotation Dataset dialog box is displayed.
-
In the Import Annotation Dataset dialog box, type the name of the imported annotation dataset in the Annotation Dataset Name field and then proceed to select an existing annotation dataset in the Select Annotation Dataset drop-down list.
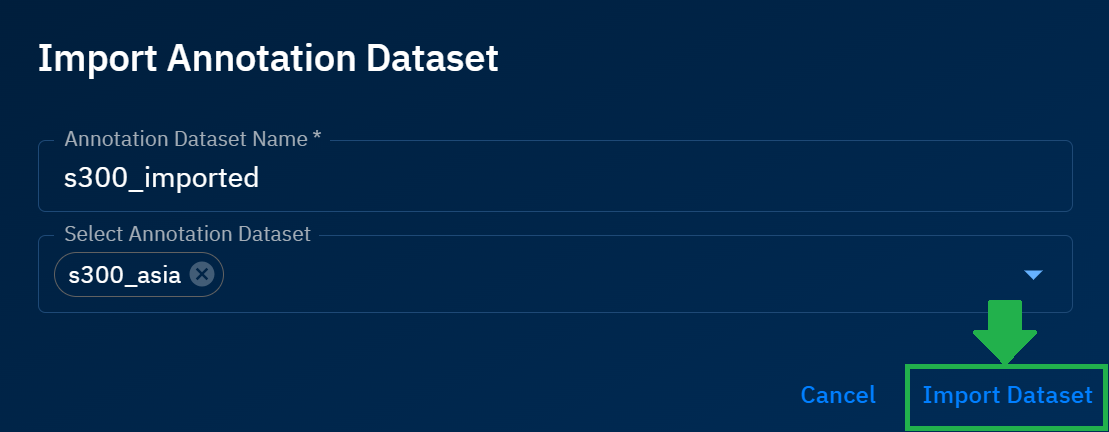
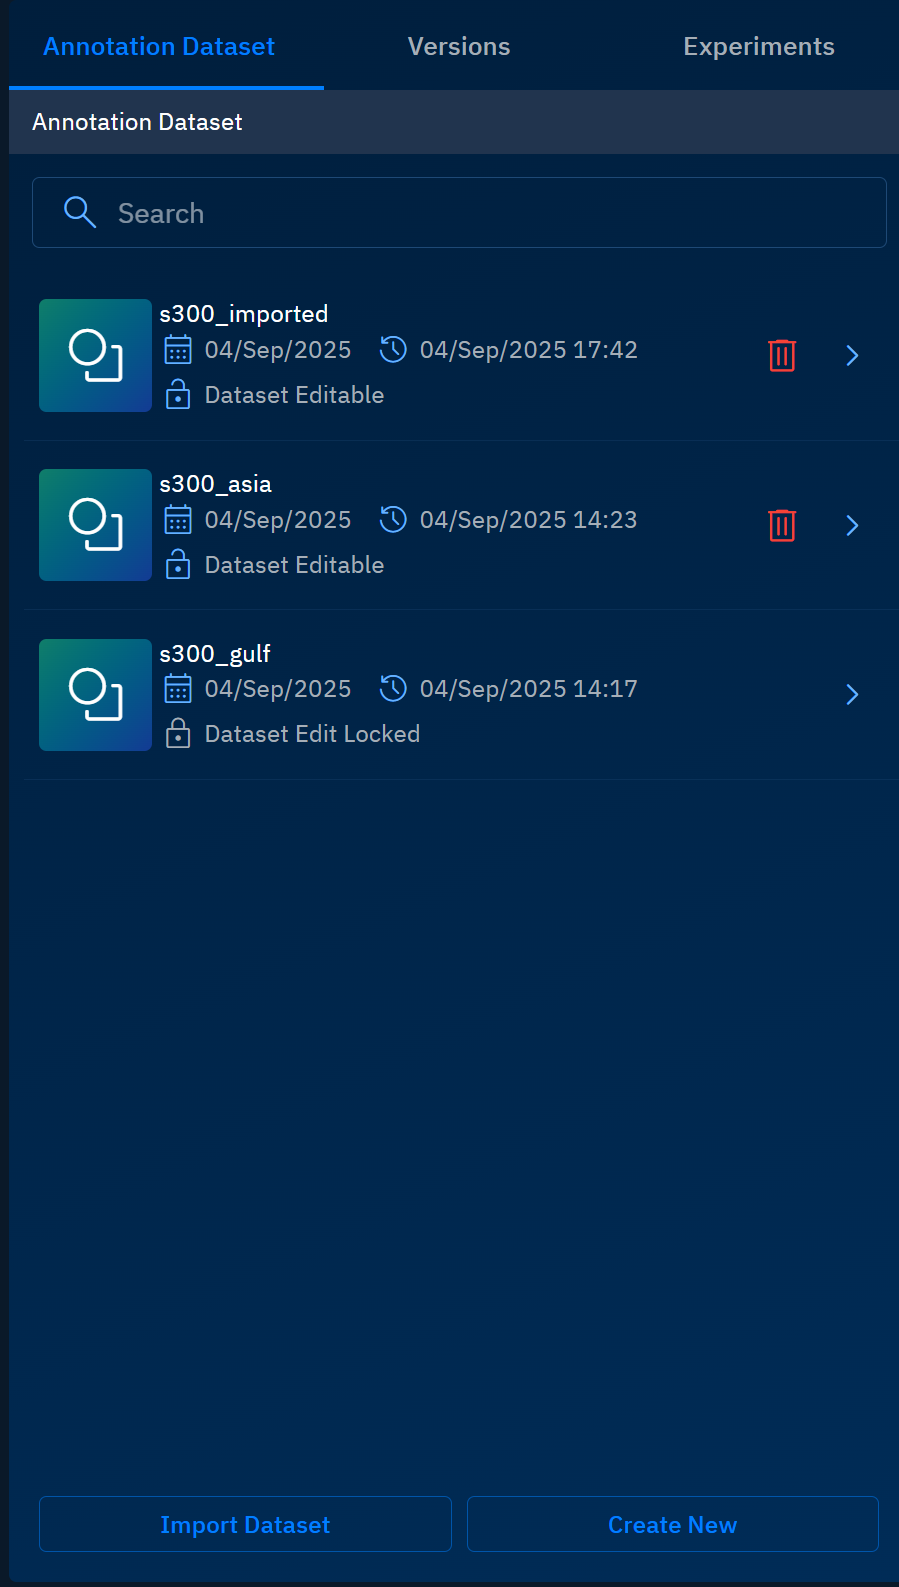
The platform successfully adds imports an existing annotation dataset.
Creating New Version
In this section, you will learn how to validate a dataset and link it to categories.
Pre-requisites:
Prior to validating a dataset, ensure you have created minimum two annotation datasets as show below:
To create a new version, do the following:
-
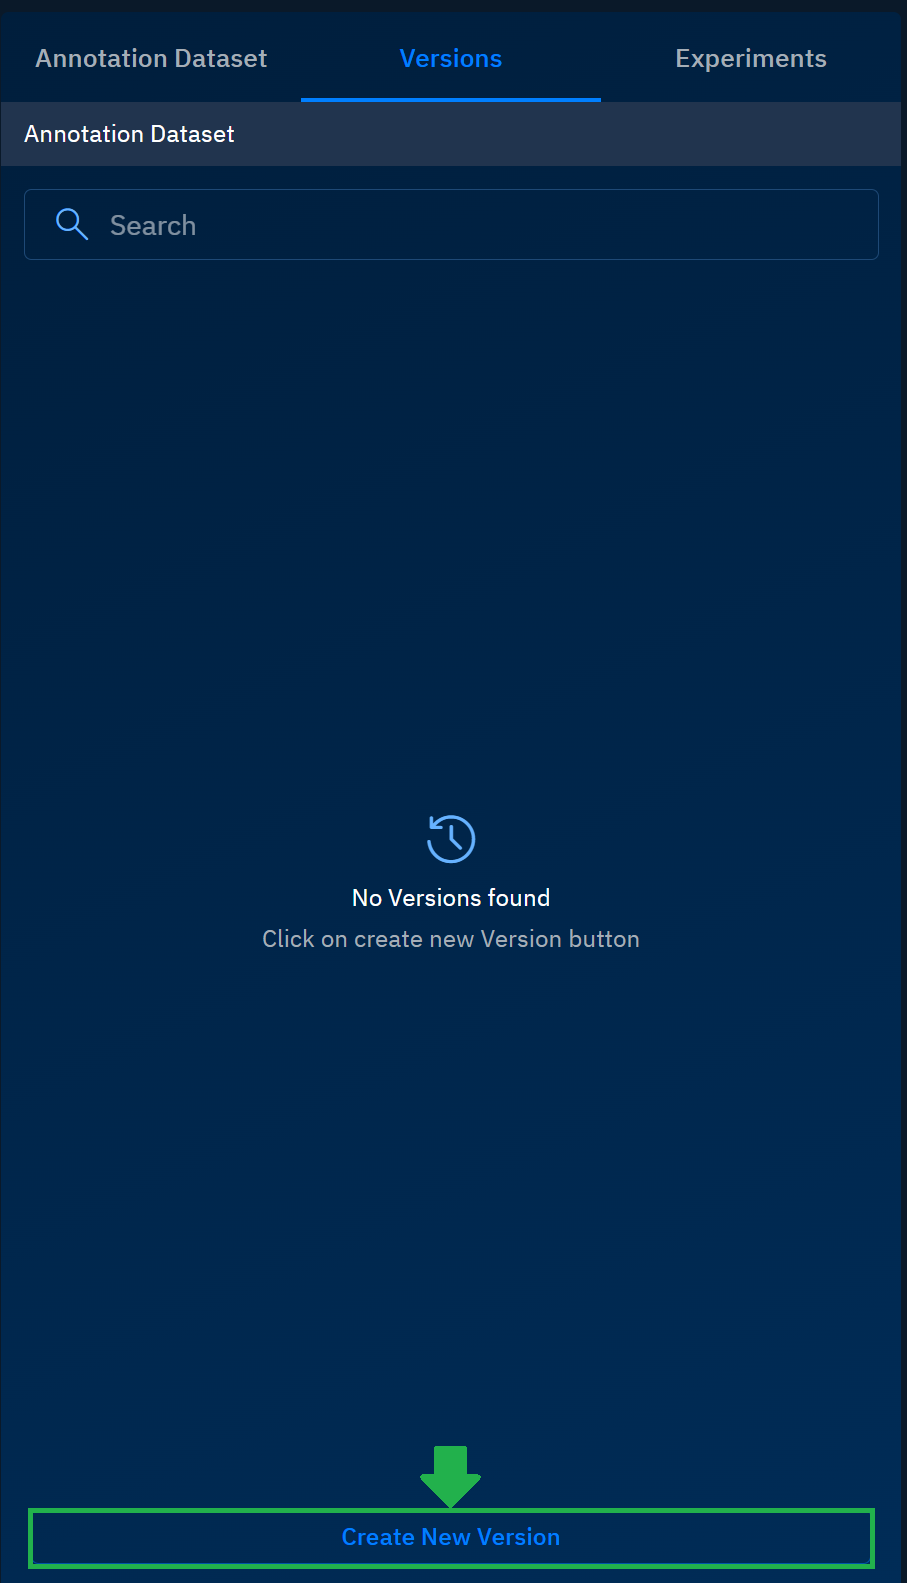
Select the Versions tab and then click the Create New Version button.
The Create New Version dialog box is displayed.
-
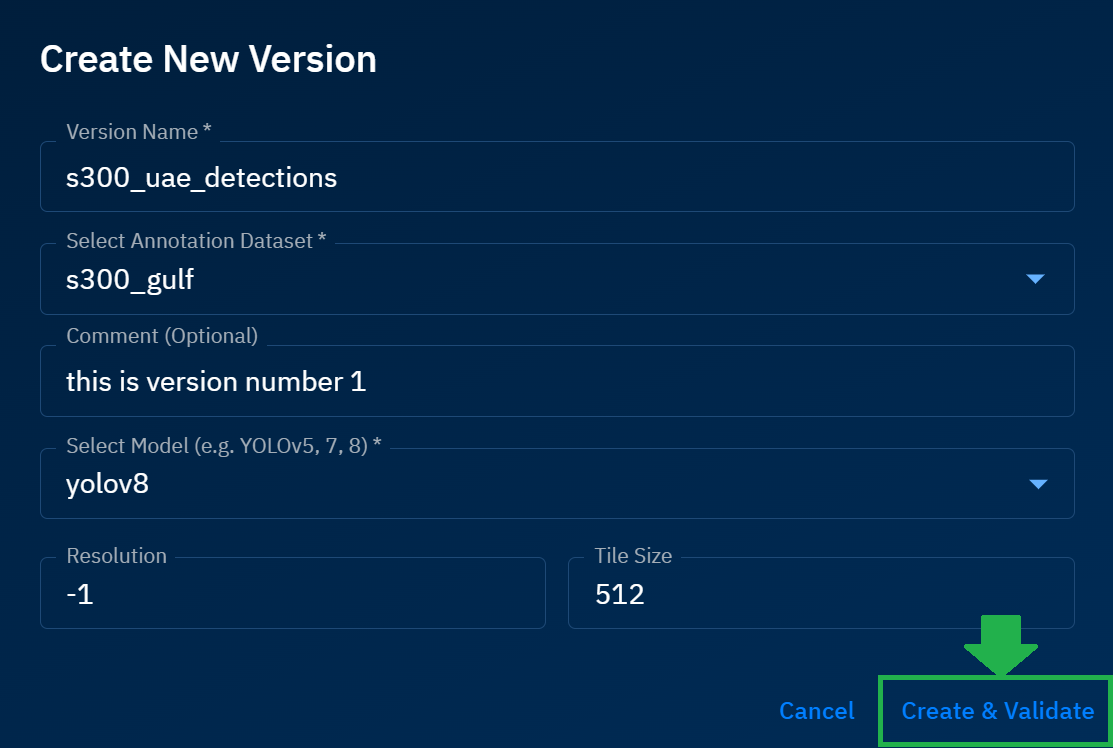
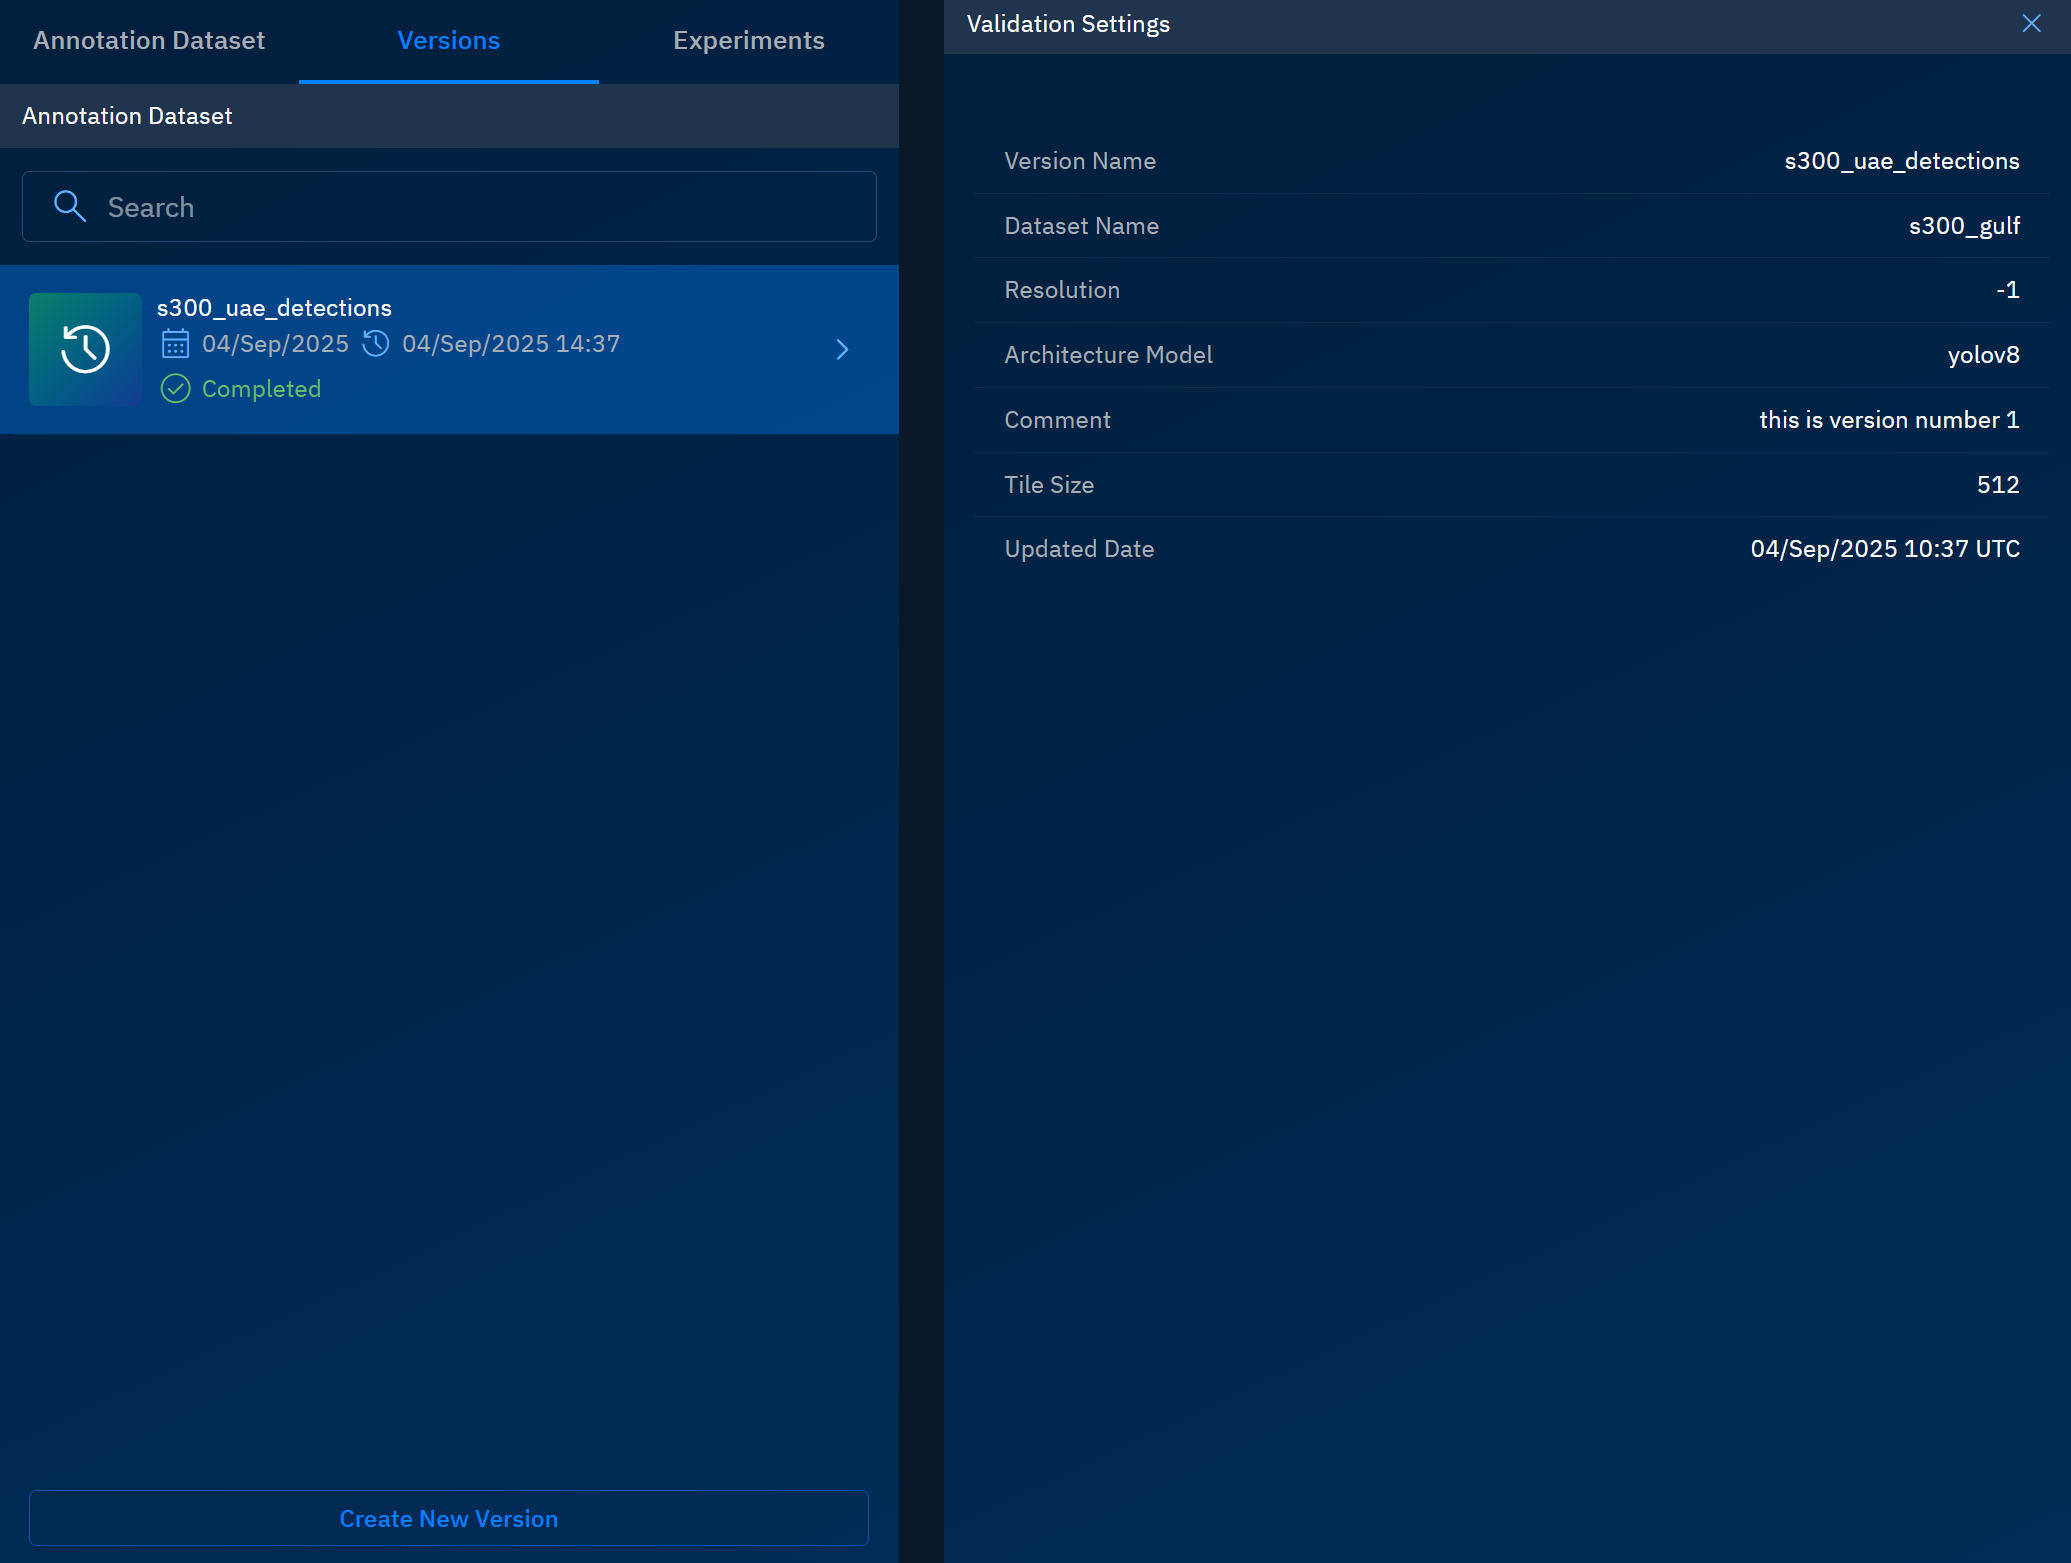
In the Create New Version dialog box, type or select the following, and then click the Create and Validate button:
Field Example Value Description Version Name s300_uae_detectionsA unique identifier for this version of the experiment or model training run. Select Annotation Dataset s300_gulfThe annotation dataset linked to this version for training and validation. Comment (Optional) this is version number 1A short, descriptive note to provide additional context for the version. Select Model yolov8The model architecture chosen for training (e.g., YOLOv5, YOLOv7, YOLOv8). Resolution -1Defines the input resolution. -1usually means the default or auto-selection.Tile Size 512Size (in pixels) for image tiling during training or inference.
The platform starts the process of validating the dataset and completes the process in a few minutes only.
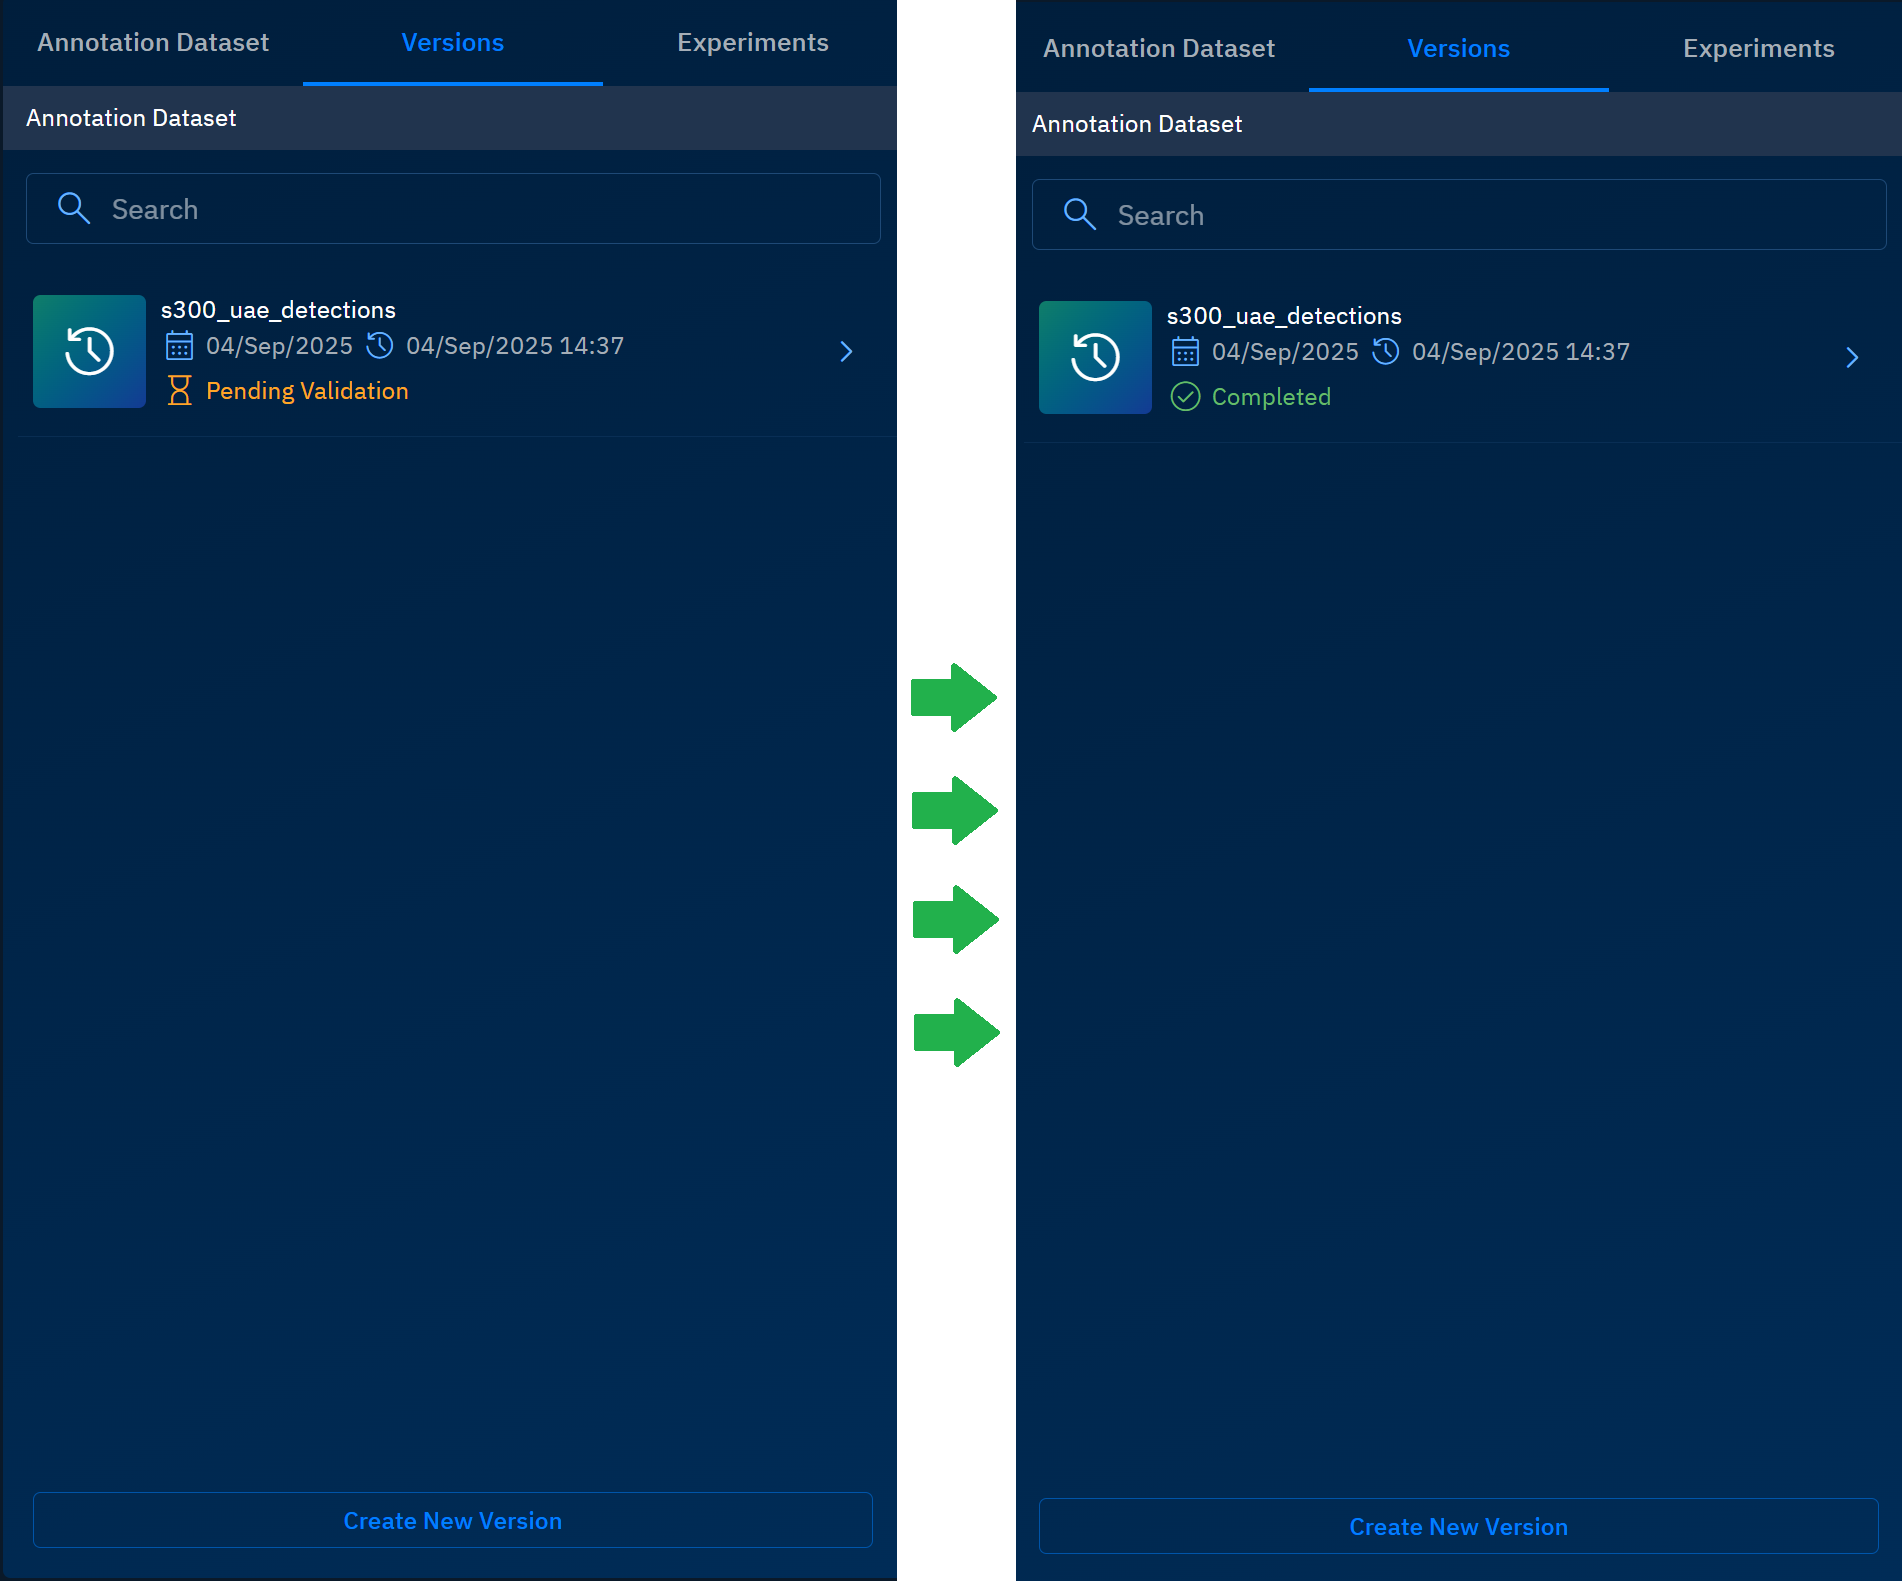
-
Click the validated dataset to view details.
Configuring Experiments
In this section, you can configure and train your model.
To configure experiments, do the following:
-
Select the Experiments tab and then click the Create New Version button.
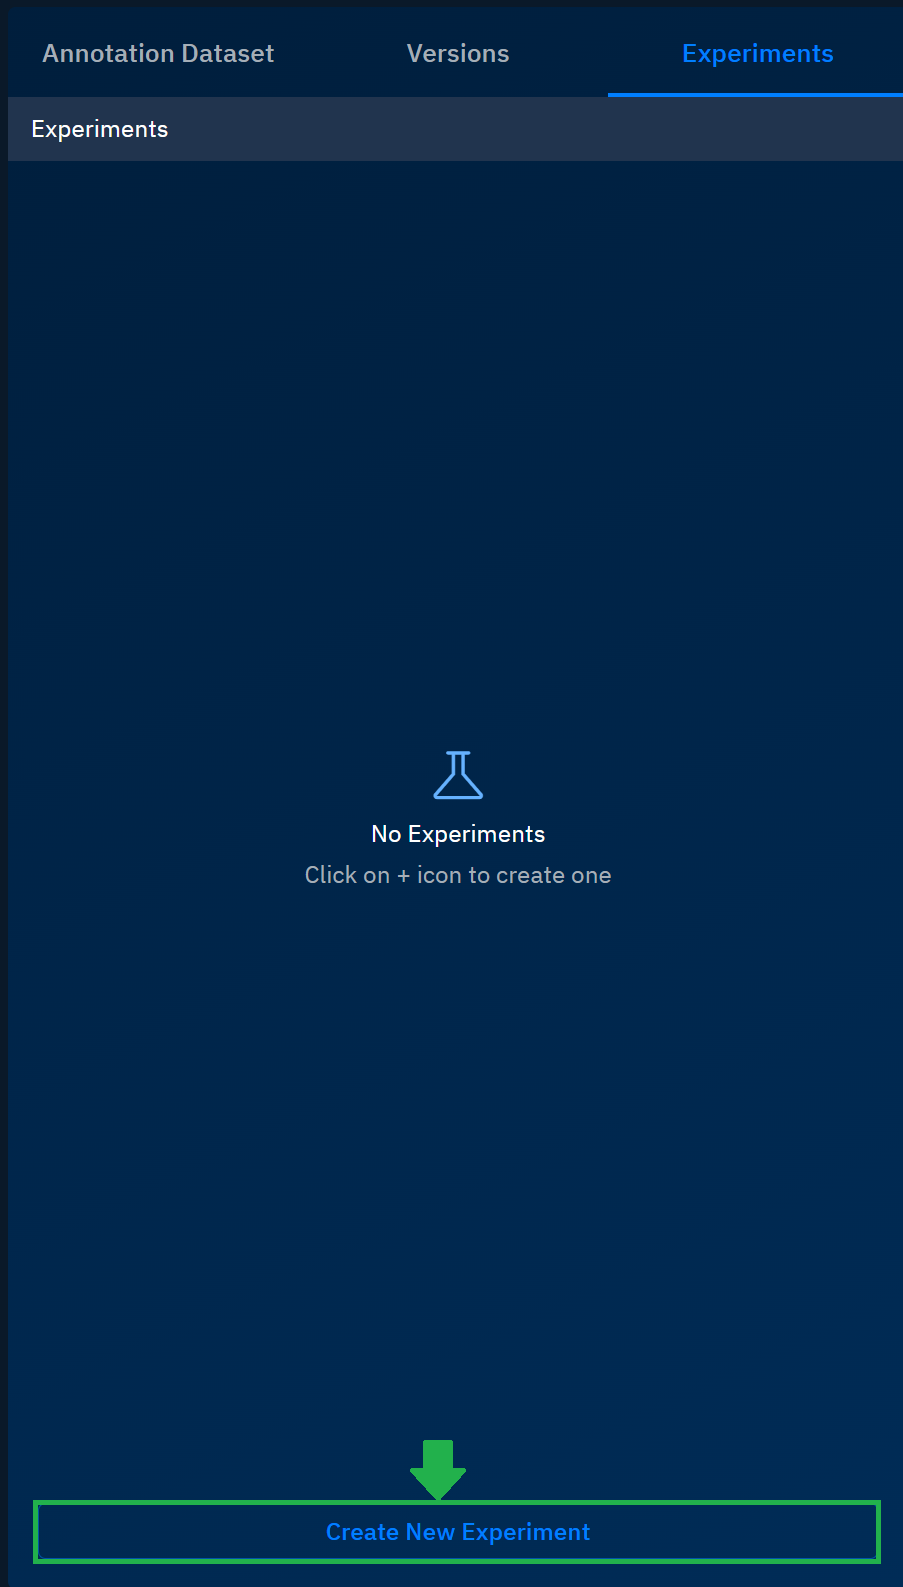
The Configure Experiment pop-up dialog box is displayed.
-
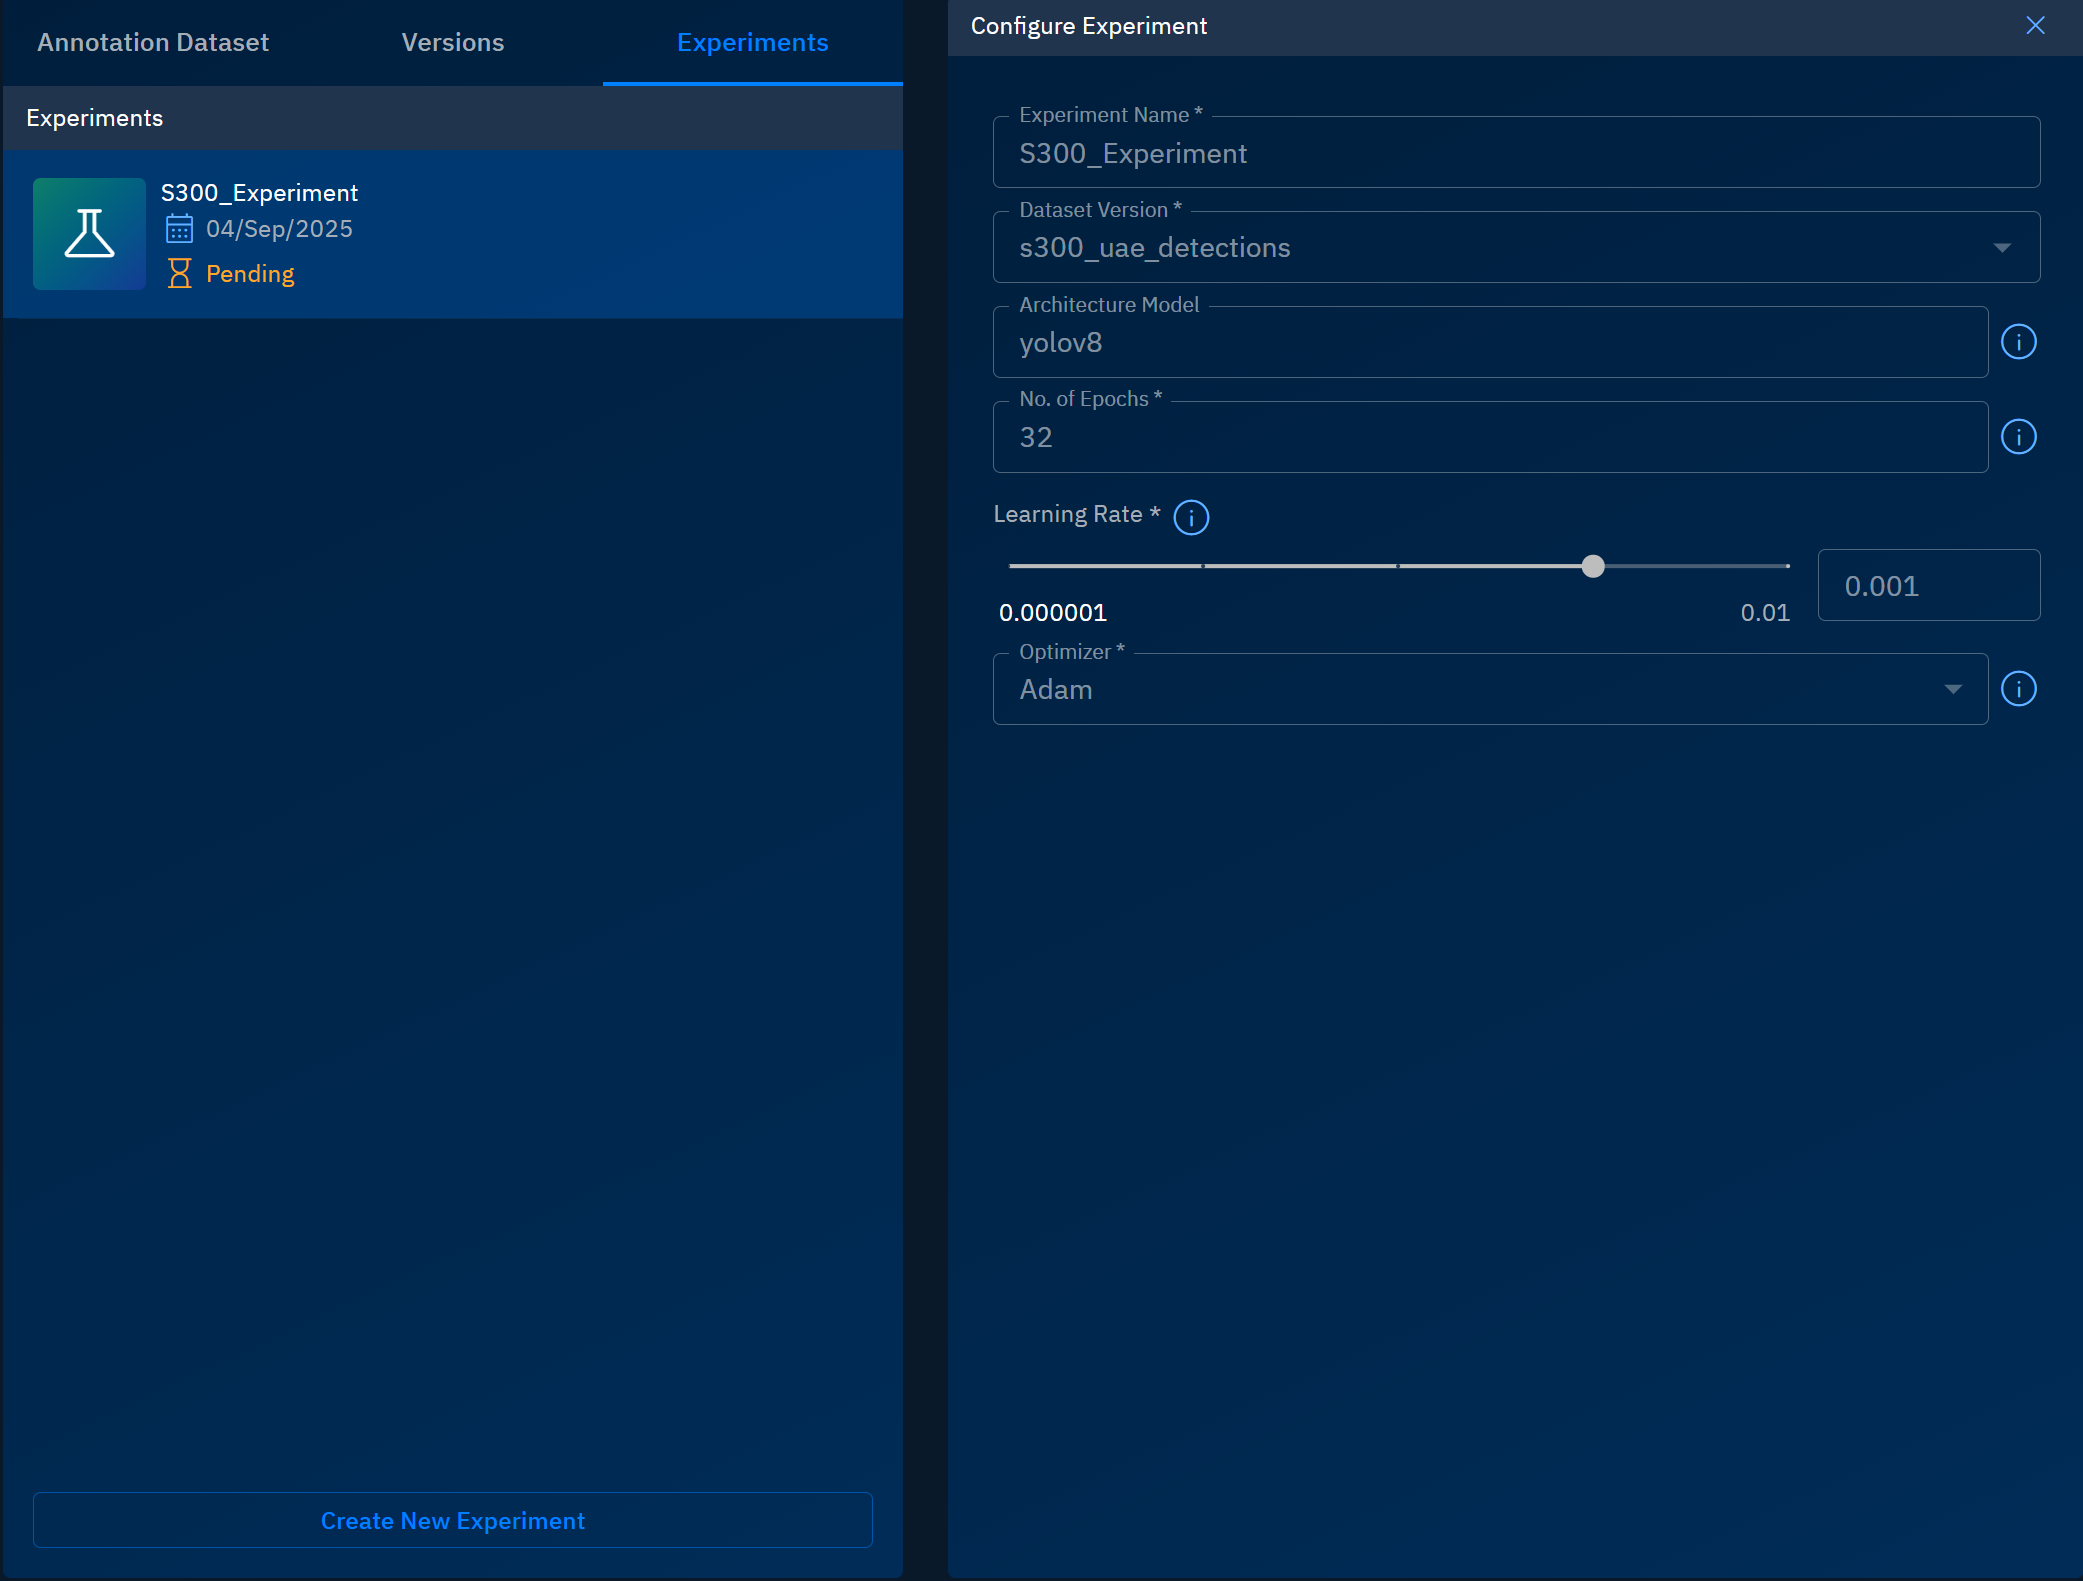
In the Configure Experiment dialog box, type or select the following, and then click the Start Training button:
Field Example Value Description Experiment Name S300_ExperimentA unique name for the experiment. Helps identify and organize multiple runs. Dataset Version s300_uae_detectionsThe dataset version linked to this experiment for training and validation. Architecture Model yolov8The deep learning architecture chosen for training (e.g., YOLOv5, YOLOv7, YOLOv8). No. of Epochs 32Defines the number of training cycles. More epochs allow better learning but risk overfitting. Learning Rate 0.001Controls how quickly the model updates weights. Lower = more stable, higher = faster but riskier. Recommended: 0.001–0.01.Optimizer AdamorSGDUsers can select Adam or SGD as the optimizer. Adam is recommended in most cases because it adapts the learning rate automatically and converges faster. SGD can be useful for large datasets or when reproducing research benchmarks, offering finer control and sometimes better generalization, but it typically requires careful tuning of learning rate and momentum. Once you click the Start Training button, the platform starts the process of training the dataset.
Best Practices for Configuring an Experiment
These best practices highlight how to name, structure, and fine-tune your experiments so you can track progress easily and achieve consistent outcomes.
Experiment Naming
- Use descriptive names that combine project, dataset, and purpose.
- Avoid generic names like
test1. - Include version numbers or dates for reproducibility.
- Example:
YOLOv8_UAE_v1.
Dataset Version
- Always validate the dataset before linking it.
- Ensure annotations are consistent and aligned with categories.
- Document dataset version in experiment reports.
Architecture Model
- Use the latest stable model (e.g., YOLOv8) for higher accuracy.
- For lightweight runs or quick iterations, use YOLOv5.
- Keep architecture consistent when comparing experiments.
Epochs
- Default range: 20–50 epochs for most projects.
- Small datasets: 10–20 epochs (avoid overfitting).
- Large datasets: 50+ epochs, but monitor validation accuracy.
- Rule of thumb: more data allows more epochs.
Learning Rate
- Recommended starting point: 0.001.
- Too high (≥0.01) → unstable training.
- Too low (≤0.0001) → very slow convergence.
- Adjust gradually; use schedulers if available.
Optimizer
- Adam is recommended for most cases (balanced speed and accuracy).
- SGD is useful when replicating research benchmarks or needing strict gradient control.
- Keep the optimizer consistent for fair comparisons.
General Tips
- Run a baseline experiment first with default hyperparameters.
- Track experiments carefully (names, comments, or tools).
- Save checkpoints regularly, especially for long runs.
- Validate pipeline stability on small runs before scaling up.